Once you have set your eyes on flaking and chipping paint, painting cannot be delayed for long. There are numerous visible signs to let you know that it is time to repaint your house and decorated the bathroom. Most of the homeowners struggle with deciding between DIY and professional painting services.
Doing it on your own is fun but can be risky. If you don’t want to compromise on your safety and the quality of paint job, hire painting contractors nearby you.
For those who want to try it on their own should read well about the procedure and its implications. To get the pro-level finish, prepare well before house wall painting in Arlington MA.
Preparing the walls is the key step. Even the experienced professionals proceed to the final application after completing all these preparatory steps.
Table of Contents
Step 1. Clean the Walls Thoroughly
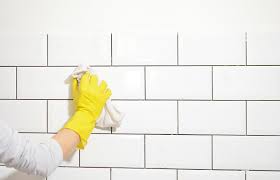
When you are working on the exterior walls, cleaning the walls is more difficult. You can pressure wash the walls to get rid of the dirt and grime.
For the interior walls, mild detergent or soap water can be used to wash off the dirt. You can use a soft fabric to cleanse the walls.
Step 2. Scrape Off the Residual Paint
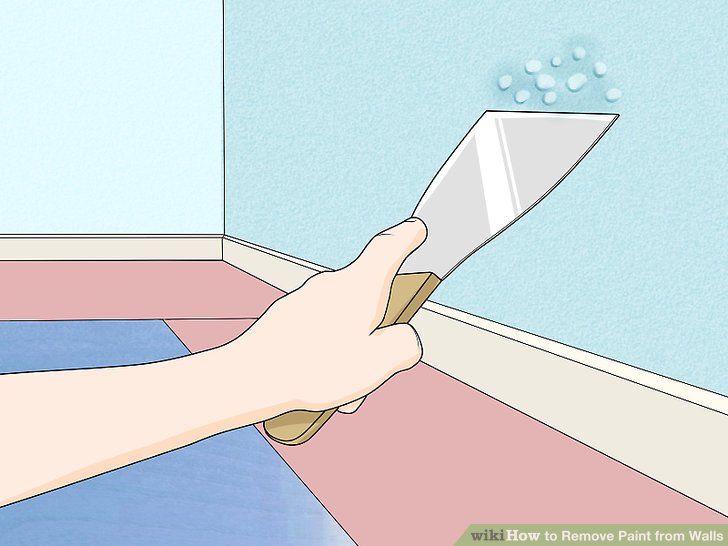
The next step is to scrape off the residual paint. The chipped or flaked paint can ruin the final look of the paint, if not properly removed. It weeds out the blisters, cracks, efflorescence and other surface defects.
Scrape off the paint in long strokes to ensure that no part remains unattended. The fine sandpaper should then be used to even the surface.
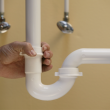
Step 3. Fill Up the Crevices
Consider concealing the imperfections of the wall with filling substances. Joint compounds can be filled up using the putty knives. The holes made by nail heads and crevices need treatment to avoid smudgy surfaces at the end.
You will need to sand off the specific spots after filling procedure. The edges need to be smooth and even.
Step 4: Securing the Boundaries
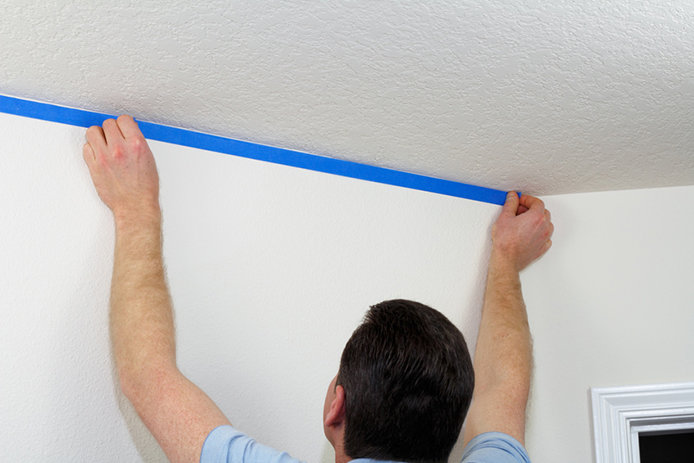
Once you are done with filling and sanding, the next step is to secure the edges. You can use painters tape to secure the surfaces you don’t need to be painted. The tape is very useful to achieve the fine lines.
If you find it difficult to make fine lines on the corners, painters tape is your best friend. The doors, window panes, and furniture need to be covered.
Step 5: Priming the Walls
The core step of wall preparation is the primer application. Let us dive into some important details about the primers.
Why Are Primers Important?
As the name suggests, primer is the primary layer that makes the wall ready to receive the paint. It is also called as an undercoat and is preparatory coat8ng applied before painting.
- Primers enhance paint life.
- They ensure flawless finishes.
- Primer lays the foundation for paint material and you can find suitable primers for various surfaces.
- When you paint over a wall that is properly primed, less paint material is used. The primer layer prevents the absorption of paint in the porous surface of the wall.
- It helps in the effective hiding of joints and seams.
- Primers increase adhesion and reduce the risk of chipping.
- The use of primer minimizes cracking and mold growth in exterior surfaces.
Primer Categories as Per the Intended Use
Every painting project needs a different primer. It is important to remember that not every wall surface needs a primer layer. Only spot priming is essential when you are adding a new paint layer. Following is a list of primer types as per their intended use.
A. Wood Primer
It is very difficult to evenly paint the bare wood surfaces. The paint topcoat does not adhere to this substrate. Oil-based primers must be applied on bare wood surfaces. They dry slowly and get absorbed into the wood surfaces. New paint varieties wit faster-drying technologies are now available in the market.
B. Masonry Primer
One of the basic reasons for paint chipping is inappropriate pH levels of the wall. Masonry primers are applied to avoid adhesion problems. Direct painting over high pH masonry surfaces is a risky decision.
Some of the masonry surfaces develop white crystalline deposits which are highly unpleasant to look at. This problem is known as an efflorescence in technical terms. A masonry primer eliminates the risk of crystalline deposits.
C. Dry Wall Primer
When the paint is applied over the bare or drywall, it gets absorbed in the pores. The walls absorb the paint just like a sponge. Some areas soak up more paint than the others.
Apply a coat of quality drywall primer to achieve even surfaces. Hire house wall painting services in MA and you will not have to worry about the primers.
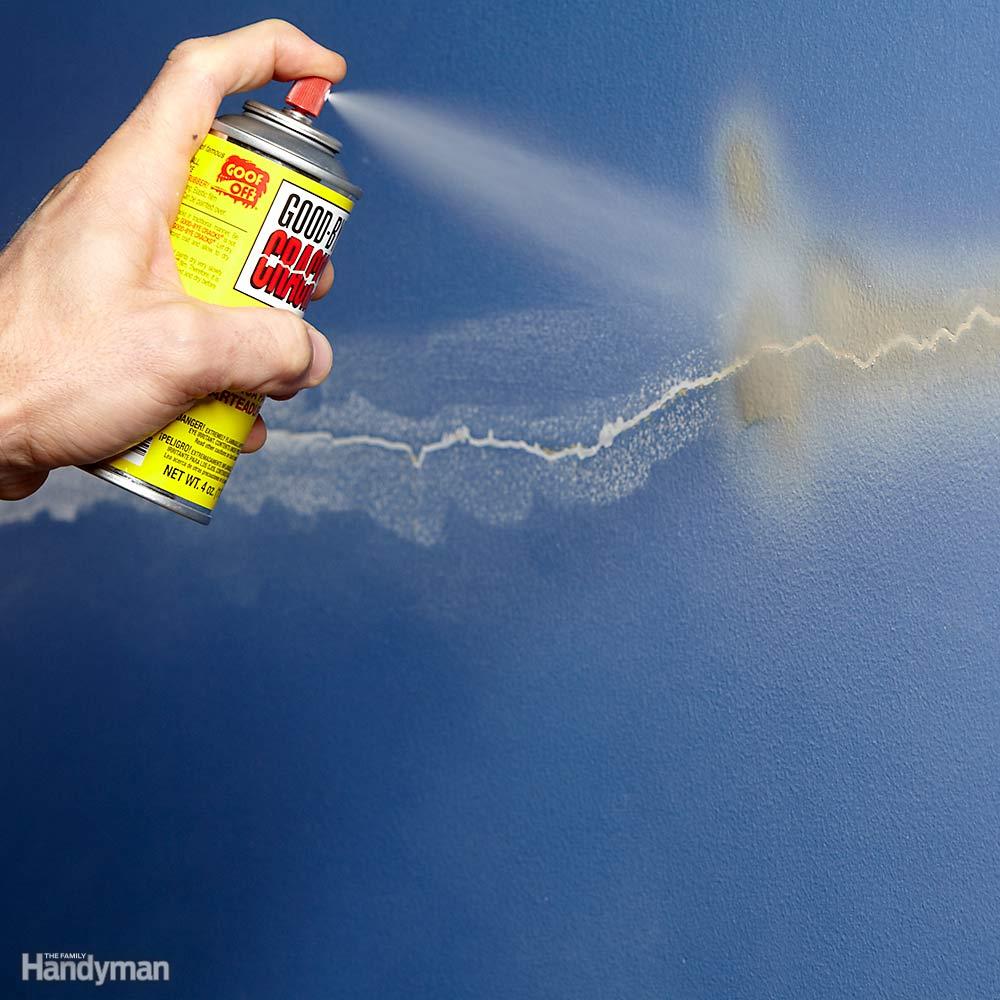
D. Stain Blocking Primer
Smoke and water stains can damage the final coats of paint like nothing else. Primers are specifically made to prevent smoke bleeding through the paint coat. They help keep the walls clean and fresh for long periods.
E. Bonding Primer
Super smooth surfaces pose the greatest challenge for priming. Some of the examples are ceramic tile, plastic, vinyl, and glazed block. Bonding primers are used over such slick surfaces to ensure firm bonding.
Types of Primers
1. Oil Based Primer
These are suitable for exterior and interior surfaces. It is also known as alkyd primer. It can be applied underneath oil and latex paints.
Oil-based primer remains flexible even after drying. It can withstand temperature changes. They are often called as stain killers as they efficiently hide the stains over the wall surfaces.
2. Latex Based Primer
It is water-based and also known as an acrylic primer. It is a more flexible, fast drying and safer alternative to the oil-based primers. It has excellent cracking resistance.
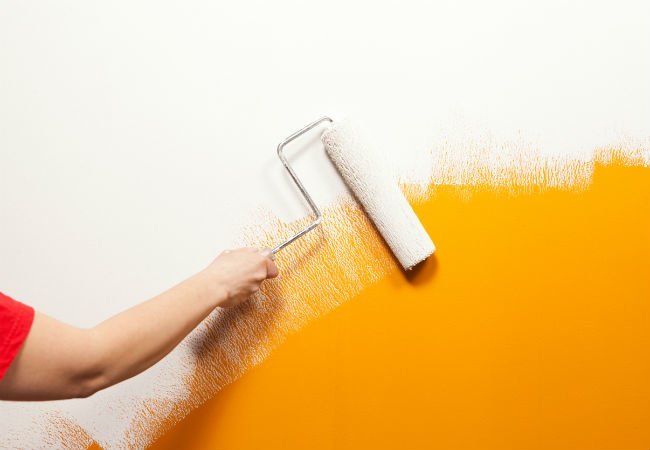
Step 6: Swatch Testing
Before you apply the paint coat, take a swatch test or hire professionals for flawless house wall painting in MA.